Hopefully you aren't getting too sick of this chair just yet because I've got a bit more to cover. Namely, paint and upholstery.
{need to catch up? click here for the reveal and re-tying springs}
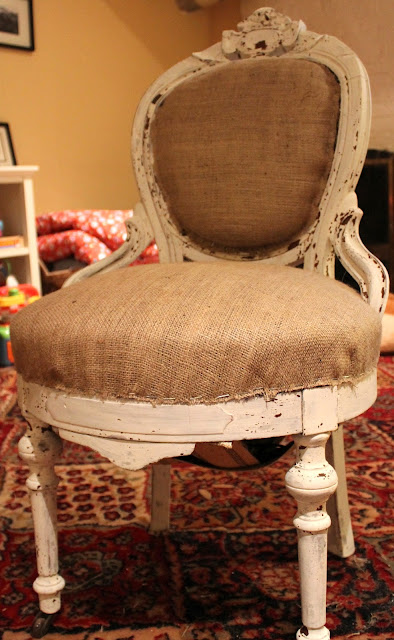
As you can probably tell, I choose to reupholster my chairs in a loose weave burlap fabric. Due to the weave of the burlap, I did not remove the existing fabric. But I did remove the existing trim, which I would consider step 1 of this stage of restoration.
Next up, paint selection and application.
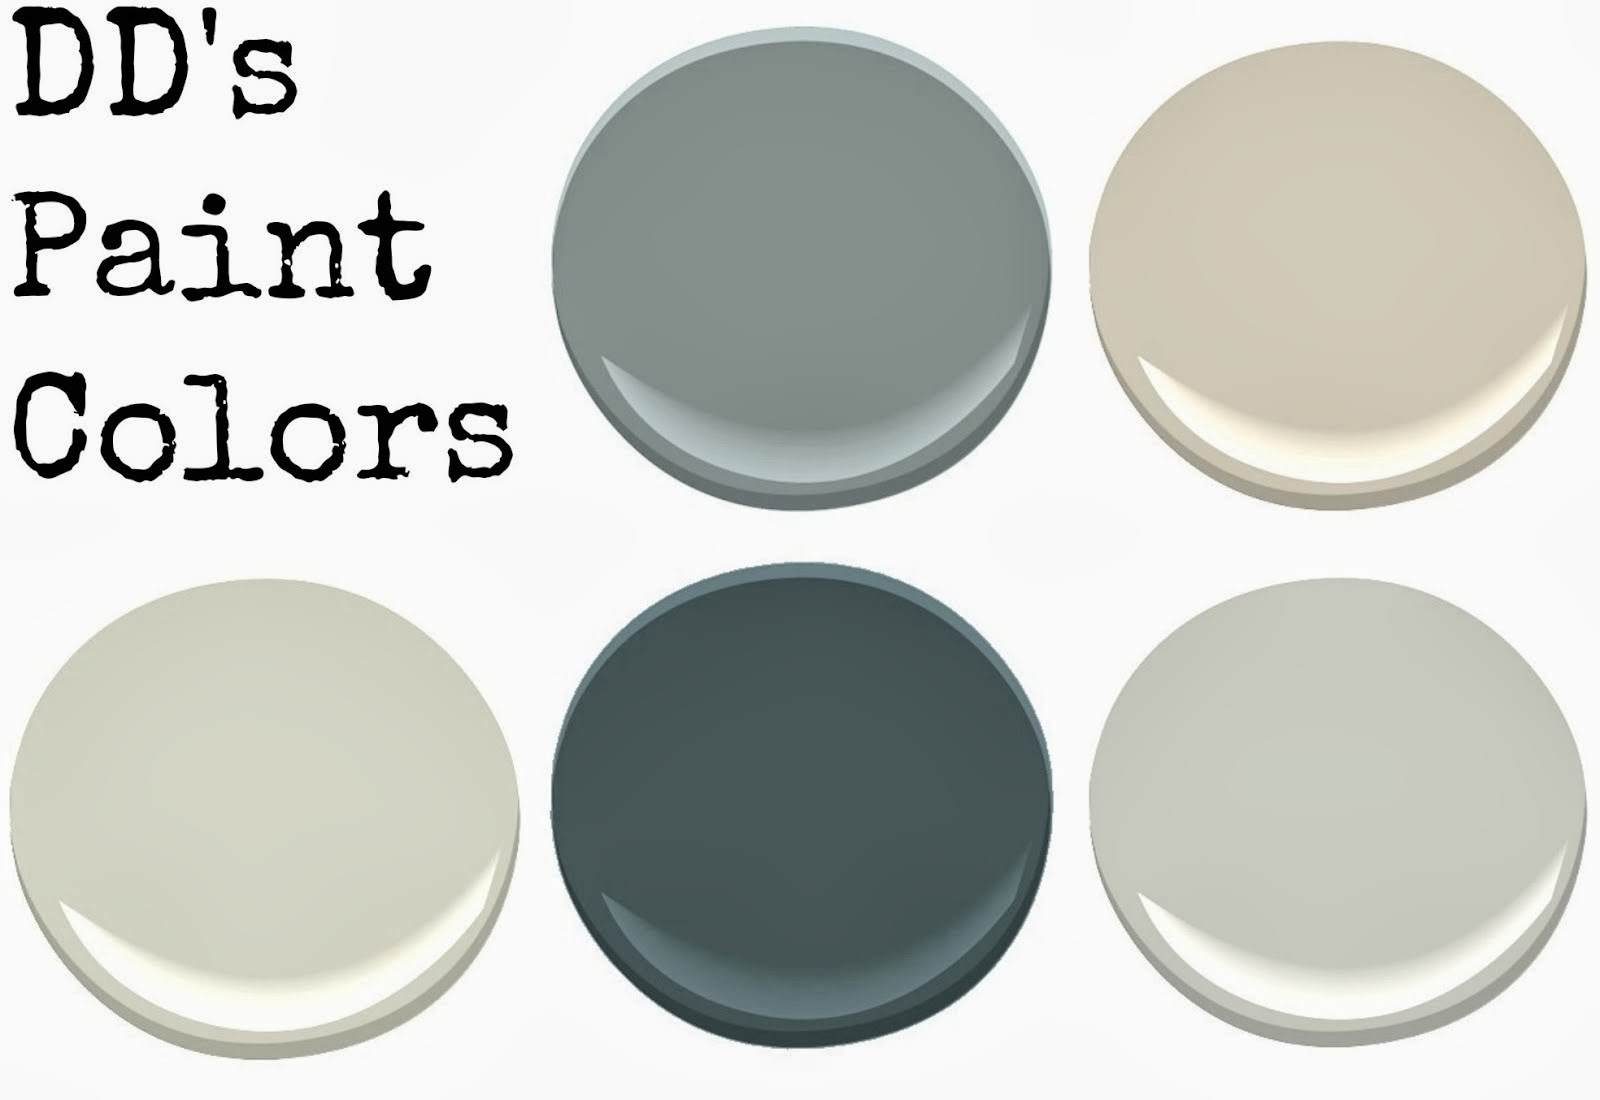
I knew I wanted a distressed paint treatment for these chairs because they were already in pretty shabby condition. So, I went with my favorite standby: Milk Paint in light cream.
Milk paint is a finicky one for so many reasons...you mix your own paint, first of all. Not the best for consistency.
I do like that you don't have to prime first and of course, it's non-toxic.
But, it really does have a mind of it's own. It distresses itself. Literally, sticking some places and not others. I really don't understand it, but I do love how it looks.
For this project, I used 2 light coats, letting it dry overnight between coats. A quick, light sanding exaggerated the naturally distressed look. And finally, one coat of clear wax added a nice richness to the exposed wood and provides a protective finish for the milk paint.
Ok, on to the new upholstery. Now, as I said in my first post about this chair, I've never taken on such a big project. I've recovered a dining chair and that's about it. That being said, this is probably the next step after a simple dining chair.
I started on the back, by simply stapling the fabric at the top, bottom and both sides. Making sure to hold it tight. Then fill in with more staples, where needed. Triming off the excess fabric. Sounds pretty simple, right? Probably because it was.
It got a bit trickier around the arms of the chair. Cut, fold, tuck, staple. Not much more to it.
Did I mention that I did this with just a plain, old, chunky staple gun. Of course, I'd love a fancy one, but I don't think extensive reupholstering is in my future. We'll see.
And lastly, my favorite part, the trim. Make sure you choose something wide enough to cover your staples. I went with a simple, cream woven trim. Then I hot glued it in place. Certainly goes along way to make this project feel like a professionally completed job.
That's all she wrote, folks.
It's the end of the story of these formerly sad and neglected, now mostly shabby, slight chic chairs.
until next time,


